Change Account Information
This article describes the various administrative account changes that you can
request and the appropriate steps needed to complete them.
Dedicated Customers
You can download the Primary Contact Change form by using the following steps:
Step 1. Log in to the Rackspace Technology Portal https://login.rackspace.com/.
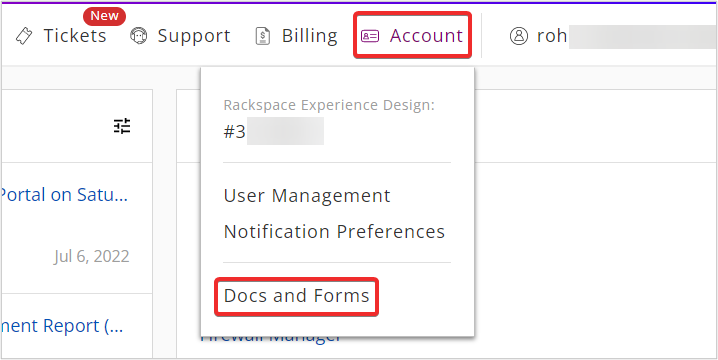
Step 2. In the top navigation panel, click Account >> Docs and Forms.
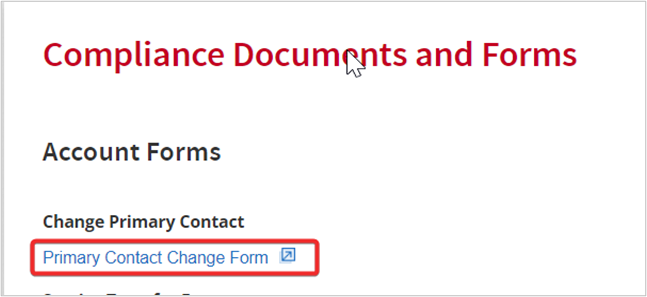
Step 3. Under Compliance Documents and Forms click Primary Contact Change Form. Download the Primary Contact Change Form and save it.
You can request the Service Transfer form from your account manager.
Cloud Customers
Cloud customers can find links to the forms described in this article by using the following steps:
Step 1. Log in to the Rackspace Technology Portal https://login.rackspace.com/.
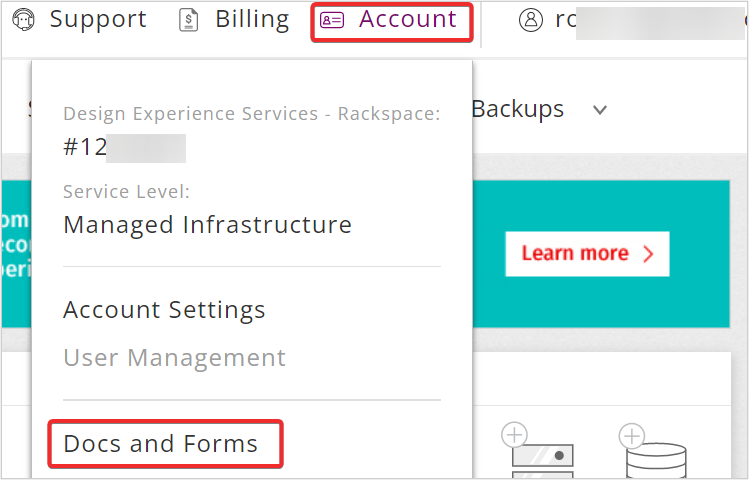
Step 2. In the top navigation panel, select Account >> Docs and Forms.
Service Transfer form requirements
The Billing team has strict requirements for processing the Service Transfer
form for a Rackspace account. Use the following information for processing the
submission quickly and efficiently:
Page 1 - Account details
- Transferring Customer / Assignor: Provide the current account
information. - Accepting Customer / Assignee: Provide the new account information.
Page 2 - Signatures
- Signatures must be from the owner or an officer of the company. No
exceptions are allowed. - Transferring Customer / Assignor: Provide the signature of the
current primary contact on the account. - Accepting Customer / Assignee: Provide the signature of the new
contact or the existing contact if that is not changing.
 and Accepting customer (assignee) information")
Do not fill out the RACKSPACE US, INC. section. A Rackspace
representative will complete this section.
Page 3 - Consolidated and / or Linked Cloud Accounts (Exhibit A)
In the Cloud Account Number and the New Cloud Account Name columns,
provide the following information:
- Cloud Account Number: Enter the account number.
- New Cloud Account Name: Enter the new name of the account. Leave
this blank if there is no change.
Best practices for legal change forms
The Service Transfer Change forms and Primary Contact Change forms have many required
fields that must be completed before the Billing team can process the forms.
After you have completed the form, create a Custom Ticket on Support Center and attach the scanned copy of your form.
You can create a Custom Ticket on Support Center by using the following steps:
Step 1. Log in to the Rackspace Technology Portal https://login.rackspace.com/.
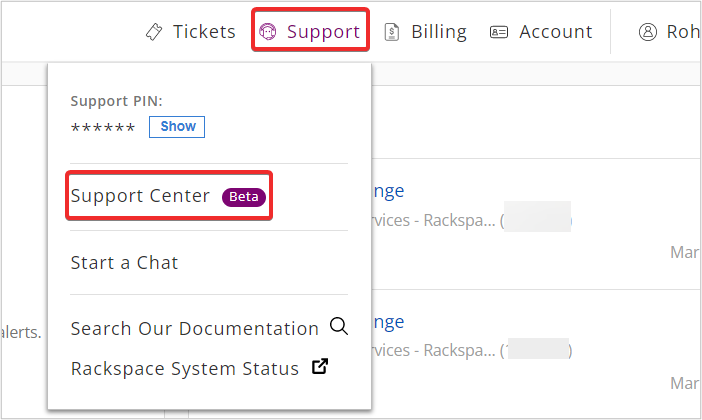
Step 2. In the top navigation panel, click Support >> Support Center.
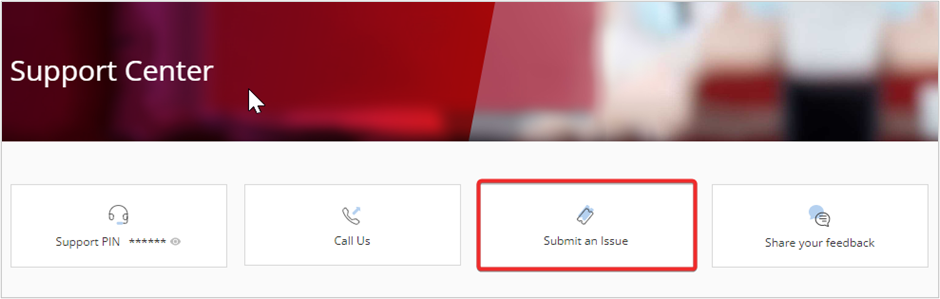
 **Step 3.** In the **Support Center** page, click **Submit an Issue**.
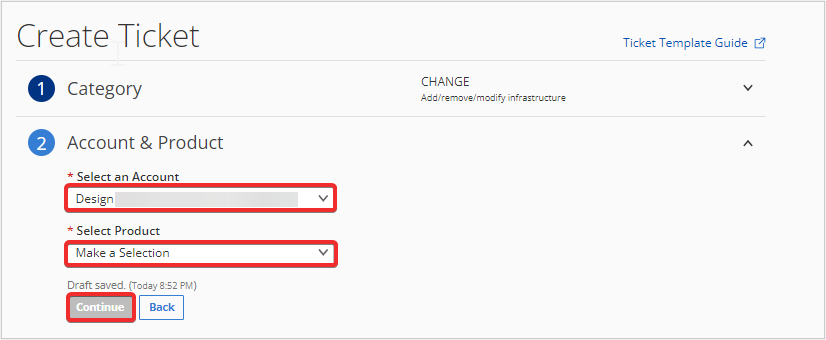
 **Step 3.** In **Create Ticket** page, select the appropriate **Account** and **Product** and click **Continue**.
 **Step 4.** In **Issue Details**, provide the appropriate details and attach your file in **Attach Files**. Click **Submit** and your ticket will be created.

To avoid form rejection, use the following tips while completing the
form:
- The signatures on the Service Transfer form must come
from an officer or an owner of the company. - The owner or officer must initial any changes regarding an increase
in MMR or added devices or domains that are made to the form after
the initial submission. - No blank fields are allowed on any form, except where indicated. You
cannot type Same in any field.
Updated 4 months ago